
Table of Contents
- Why film photography for beginners makes sense
- Choosing your first camera
- The best film stocks for beginners
- Exposure basics: the three settings that matter
- How to load and shoot a 35mm film camera
- Composition tips for film
- How to develop your film in Australia
- Reading your results and improving
- Gear to add later (and what to skip)
- Frequently Asked Questions
- Ready to start?
Film photography for beginners can feel intimidating. There are no instant previews, no delete button, and a developing cost attached to every frame. That gap between pressing the shutter and seeing the result is exactly what makes it worthwhile. It slows you down, makes each frame feel deliberate, and produces images with a grain, warmth, and texture that no digital preset fully replicates.
This guide covers everything you need to take your first roll from camera to finished scan. It assumes zero prior knowledge and focuses on practical choices for Australian shooters, with real AUD costs throughout.
 Film photography captures natural light and texture in a way that rewards shooting outdoors, at golden hour, or anywhere the light has character.
Why Film Photography for Beginners Makes Sense
The short answer: film forces you to slow down, and slowing down makes you a better photographer.
Each roll gives you 24 or 36 frames. Knowing that changes how you look at a scene. You consider the light, the framing, whether the moment is actually worth a frame. Digital photography is excellent, but the near-infinite capacity of a memory card removes a certain discipline that film reinstates.
There are also practical reasons. Film photographs have a distinct quality. The grain structure, the colour rendering, the slight softness at edges: these are characteristics of the medium, not post-processing choices. Kodak Portra skin tones and Fujifilm Velvia landscapes have been trusted by professional photographers for decades because the output is genuinely different from what a digital sensor produces.
For Australian beginners, the market for film gear has never been more accessible. Entry-level 35mm cameras start around $32 AUD (disposable) or $43 AUD (reusable point-and-shoot), and a solid developing and scanning service is available by mail in every Australian state. You can start today without a significant investment.
Choosing Your First Camera
Your first camera decision is simpler than most forums make it sound. There are three realistic options for a beginner.
Option 1: A disposable camera
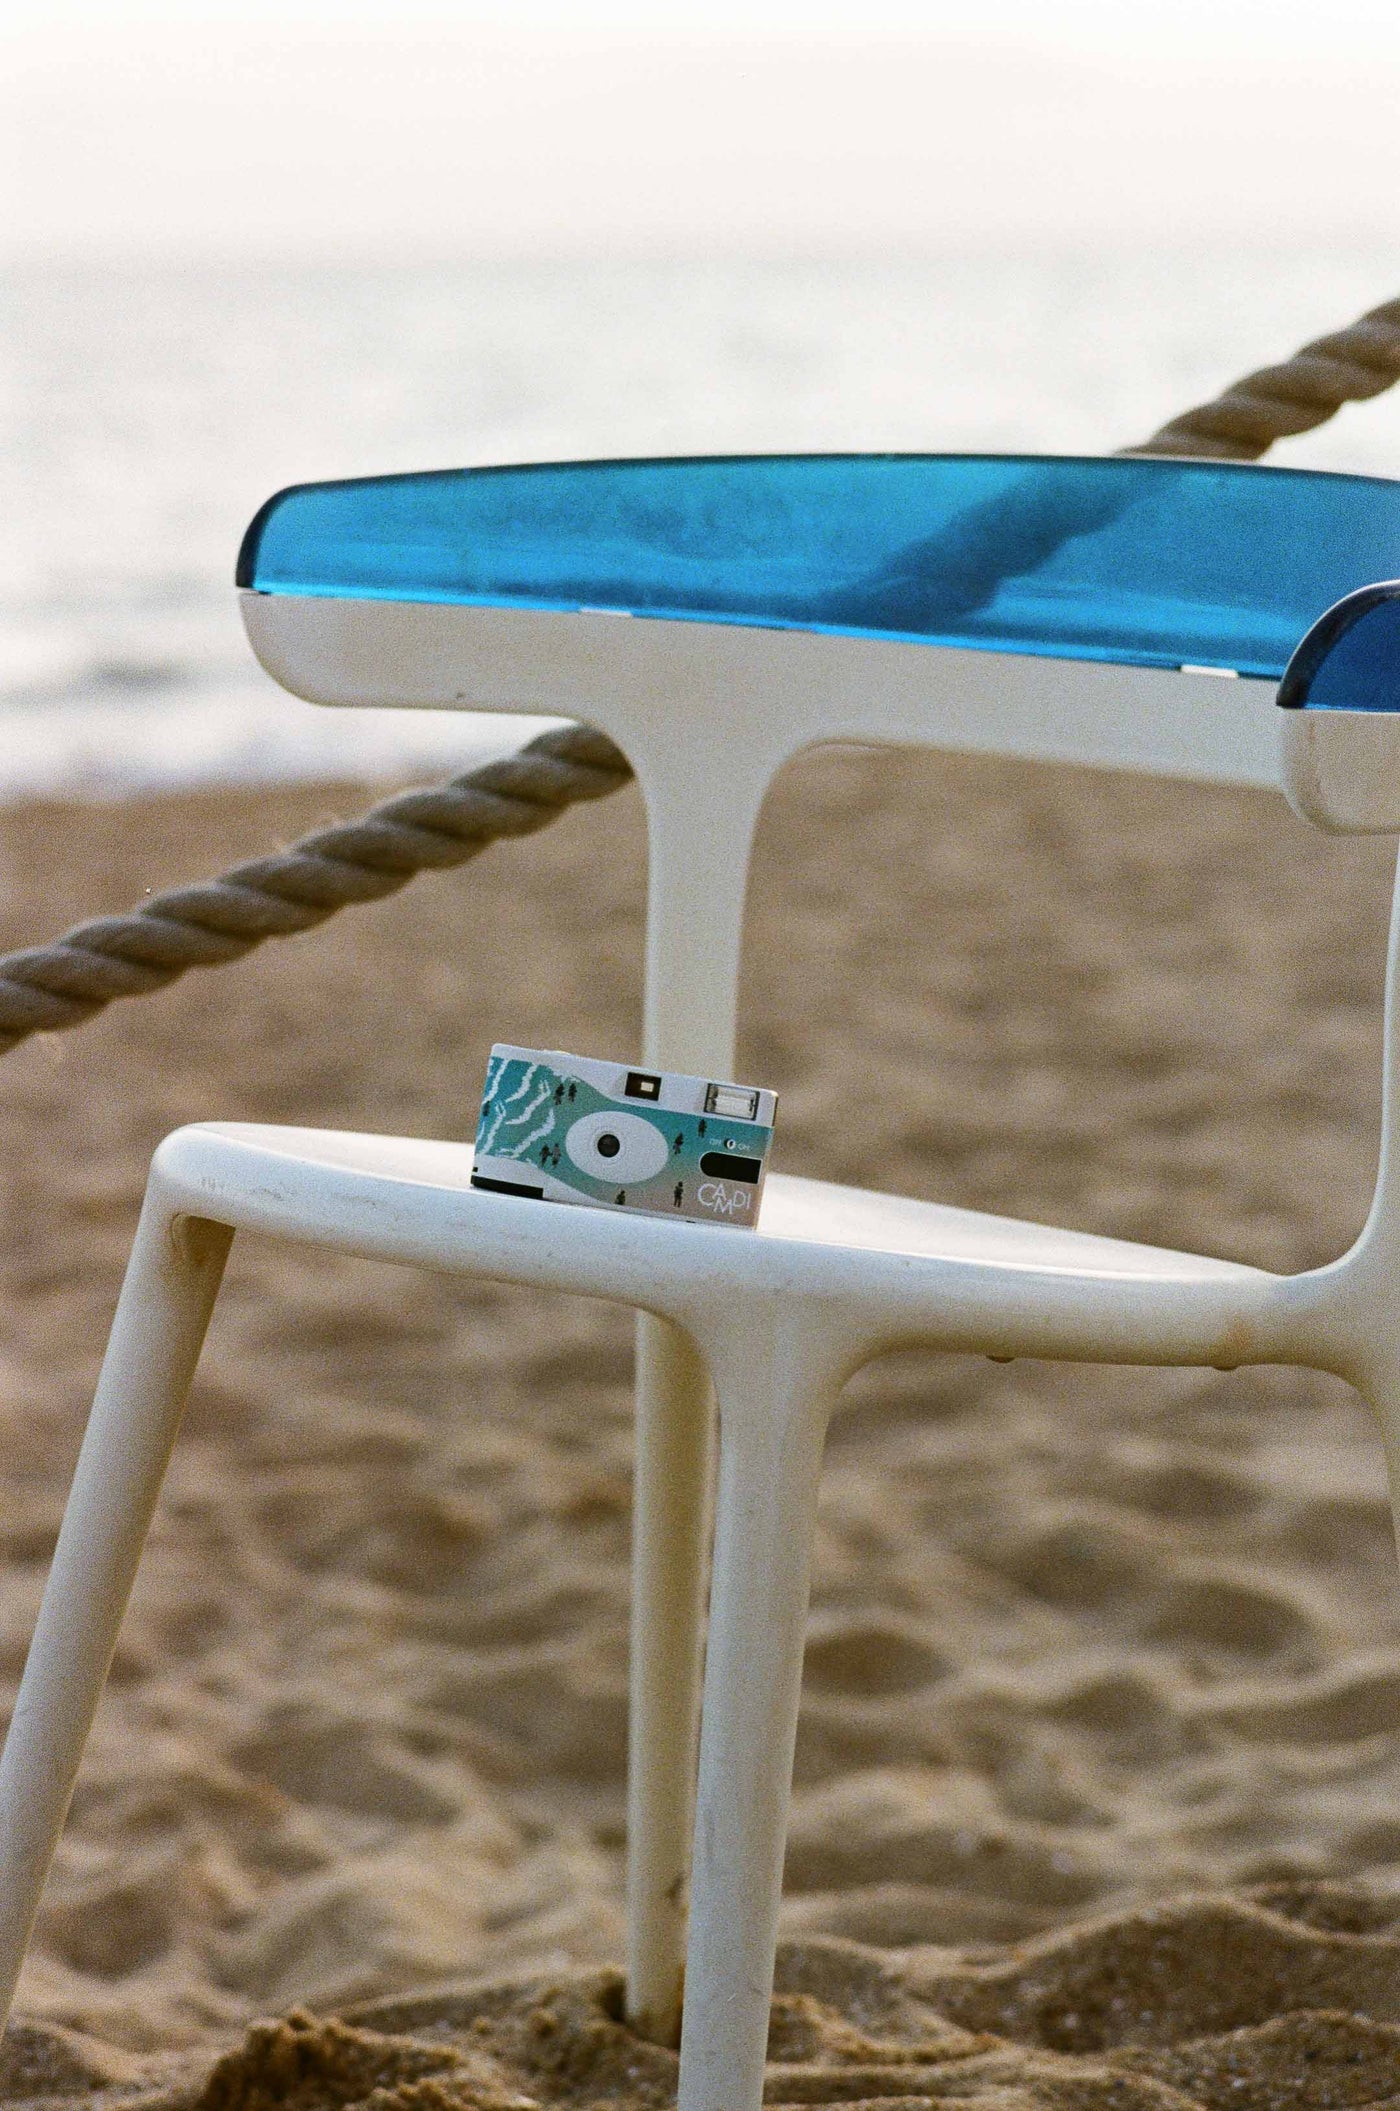
A disposable camera comes pre-loaded with 27 exposures of colour-negative film. There are no settings to adjust, no film to load, and no rewinding required. You shoot through the roll and hand the whole camera to a lab.
This is the right starting point if you want to try film with zero commitment. The total cost for your first roll, including developing and scanning, sits around $51 to $63 AUD depending on the lab. That's a reasonable price to discover whether the format is for you.
CAMDI's disposable camera collection offers Australian-designed options that are available online with national shipping. For a full overview of what to expect from a first disposable roll, the CAMDI disposable cameras guide covers every step.
Option 2: A reusable 35mm point-and-shoot
A plastic 35mm point-and-shoot like the Kodak M35 (approximately $43 AUD) or the Ilford Sprite 35-II gives you the same simplicity as a disposable but with one key difference: you reload it with a fresh roll after each shoot. From roll two onward, your cost per shot drops to around $1.11 AUD compared to approximately $1.93 on a disposable, a reduction of roughly 42%.
If you can see yourself shooting more than two or three rolls, a reusable camera is the better long-term choice. CAMDI's range covers the disposable camera side of the equation; for a reusable point-and-shoot, the Kodak M35 and Ilford Sprite 35-II are widely available from Australian camera retailers.
Option 3: A secondhand 35mm SLR
An SLR (single-lens reflex) camera like the Canon AE-1 or Pentax K1000 gives you full manual control: aperture, shutter speed, and focus are all set by you. They produce excellent results and are widely available secondhand in Australia, typically for $80 to $200 AUD on eBay or Gumtree.
 A Pentax K1000, one of the most popular beginner SLRs, gives full manual control. Photo: "Vintage Asahi Pentax K1000 SE" by France1978, CC BY 2.0.
SLRs are not the best first camera. The manual controls add complexity that can produce frustrating results early on. Start with a point-and-shoot or disposable, get a feel for the medium, and move to an SLR when you're ready to learn exposure properly.
Quick comparison:
| Camera type | Entry cost (AUD) | Film choice | Ease of use | Best for |
|---|---|---|---|---|
| Disposable | ~$32 | Fixed (pre-loaded) | Extremely easy | First-ever film experience |
| Reusable point-and-shoot | ~$43-$60 | Any 35mm film | Easy after first load | Regular beginners |
| 35mm SLR (secondhand) | ~$80-$200 | Any 35mm film | Moderate learning curve | Shooters ready for manual control |
 A reusable 35mm point-and-shoot is compact, easy to carry, and pays for itself after a handful of rolls.
The Best Film Stocks for Beginners
If you're using a reusable camera, you need to choose your own film. This is one of the genuinely enjoyable parts of film photography, but the options can feel overwhelming. Here's what matters for a beginner.
ISO rating is the most important number. ISO measures a film's sensitivity to light. A lower ISO (100, 200) needs more light and produces finer grain. A higher ISO (400, 800) works in lower light but produces more visible grain. For a beginner shooting outdoors in Australian daylight, ISO 400 is the sweet spot: forgiving across a wide range of conditions and available in excellent colour stocks.
Colour temperature refers to whether a film renders colours warm (golden, orange-leaning) or cool (blue, neutral). Kodak films tend to run warm. Fujifilm films tend to run cooler and greener. Neither is wrong; they're different creative choices.
Recommended beginner film stocks:
| Film stock | ISO | Character | Best for | Price (AUD, per roll, approx.) |
|---|---|---|---|---|
| Kodak Ultramax 400 | 400 | Warm, punchy, slightly contrasty | All-round outdoor shooting | $19.95-$22 |
| Fujifilm 400 | 400 | Cooler, neutral, natural skin tones | People, travel, everyday scenes | $20-$25 |
| Kodak ColorPlus 200 | 200 | Warm, fine-grained, subtle | Bright outdoor days only | $16-$18 |
| Kodak Gold 200 | 200 | Warm, vivid, slightly saturated | Sunny outdoor shooting | $19.50-$21 |
| Ilford HP5 Plus 400 | 400 | Classic black-and-white, flexible | Black-and-white, beginners who want monochrome | $19.50-$21 |
Start with Kodak Ultramax 400 or Fujifilm 400. Both are ISO 400, which handles a wide range of Australian light conditions, and both are available from Australian retailers. The 35mm film types explained guide covers these stocks and more in detail.
CAMDI's colour negative film collection stocks a range of 35mm film for Australian shooters, available individually or in multi-roll packs.
35mm colour negative film is the standard starting point for beginners. Exposed correctly in good light, it produces images with rich tonal depth and genuine warmth.
Exposure Basics: The Three Settings That Matter
If you're using a fully automatic point-and-shoot or a disposable, the camera handles exposure for you. Skip ahead to the loading section. If you're using a camera with manual controls, or if you want to understand why some of your shots come out dark or overexposed, this section explains the fundamentals.
Aperture
Aperture is the opening in the lens that lets light through. It's measured in f-stops: f/2.8, f/4, f/5.6, f/8, and so on. A lower f-number means a wider opening and more light. A higher f-number means a narrower opening and less light.
Aperture also controls depth of field. A wide aperture (f/1.8, f/2.8) blurs the background behind a sharp subject. A narrow aperture (f/8, f/11) keeps more of the scene in focus. Disposable cameras typically sit at around f/8 to f/11, which is why everything tends to stay reasonably sharp.
Shutter speed
Shutter speed controls how long the sensor (or film) is exposed to light. Fast shutter speeds (1/500s, 1/1000s) freeze motion. Slow speeds (1/30s, 1/15s) introduce motion blur and require a steady hand or a tripod. Most point-and-shoot cameras default to around 1/60s to 1/125s in standard light.
ISO
As covered in the film section above, ISO measures light sensitivity. Higher ISO film needs less light to expose correctly but produces more grain. For manual cameras, the ISO is set by the film you loaded; most modern cameras read the DX code on the film canister and set it automatically.
The exposure triangle
These three settings interact. If you increase your ISO to shoot in lower light, you get more grain. If you open your aperture to let in more light, you get less depth of field. Learning to balance the three is the core skill of manual film photography, and it takes practice. A useful shortcut for outdoor shooting in Australian daylight is the Sunny 16 rule: at f/16, your shutter speed should equal 1/ISO (so at ISO 400, set 1/400s in bright sun).
How to Load and Shoot a 35mm Film Camera
Loading film correctly is the step that trips up most beginners. A common mistake is opening the camera back after loading without checking the film is advancing, which exposes and ruins your first few frames.
Loading a 35mm camera:
- Open the camera back (usually a latch or button on the bottom or side).
- Drop the film canister into the left chamber with the spool protruding upward.
- Pull the film leader (the tongue of film) across to the right side of the camera.
- Insert the film leader into the slot on the take-up spool. Most cameras have a clear indicator.
- Close the camera back and advance the film twice using the advance lever. Watch the rewind knob on the left: if it rotates as you advance, the film is loaded correctly.
- The frame counter should show "1" (or 0, depending on the camera model).
Shooting tips:
- Hold steady. Camera shake is one of the most common causes of blurry film shots. Hold the camera against your face, tuck your elbows in, and breathe out before pressing the shutter.
- Use the flash in low light. Most point-and-shoot cameras and disposables have a built-in flash. For indoor shooting or shaded conditions, engage it. Film is less forgiving of underexposure than digital.
- Leave space around your subject. Film photographs often benefit from looser framing. Tight crops can be achieved during scanning; a blown composition cannot be recovered.
- Advance after every shot. This sounds obvious, but on older manual cameras it's easy to press the shutter without advancing, which double-exposes a frame.
Rewinding:
When you've shot your last frame, rewind the film back into the canister before opening the camera back. Most cameras have a rewind button (often on the base) and a rewind knob on top. Turn the knob in the direction indicated (usually anti-clockwise) until you feel the resistance release, which means the leader has pulled back into the canister. Only then is it safe to open the back.
Opening the camera back before rewinding will expose your film to light and destroy some or all of your images.
Composition Tips for Film
Composition on film operates by the same principles as any other photography. The medium rewards a few specific approaches.
Commit to the frame. Because you're working with a finite roll, treat each frame as a deliberate choice. Before pressing the shutter, ask: is the light right, is the subject where I want it, is there anything distracting in the edges of the frame?
Use the rule of thirds. Place your subject one third from the edge of the frame rather than dead centre. Most camera viewfinders have faint grid lines to help.
Shoot toward the light. Film handles backlighting reasonably well, and golden hour light (the hour after sunrise or before sunset) produces the characteristic warm tones that film photography is known for. Australian summer mornings and late afternoons are ideal shooting windows.
Vary your distance. Include wide establishing shots and close-up portraits in the same roll. The contrast between them makes a set of film photographs feel more complete.
Look for texture and shadow. Film grain reads as character, not defect, when the subject already has texture. Weathered surfaces, foliage, shadow patterns on walls, and wrinkled fabric all work exceptionally well.
How to Develop Your Film in Australia
Developing film in Australia has never been more accessible. There are mail-in labs that accept film from anywhere in the country, as well as walk-in labs in every major city. The standard process for colour film is called C-41.
What developing costs:
Most Australian labs charge approximately $19 to $31 AUD depending on the lab and scan type for a colour C-41 develop plus a standard digital scan. You receive your negatives back by post and a download link for digital scans. Some labs charge separately for developing and scanning; always confirm before sending your film.
Major Australian film labs:
| Lab | Location | Process | Turnaround | Notes |
|---|---|---|---|---|
| Hillvale | Melbourne (mail-in, national) | C-41, B&W | 2-5 business days | One of Australia's most trusted labs |
| Irohas Photo | Melbourne, Sydney, Perth | C-41 | Standard | CAMDI's developing partner |
| Do Film! Lab | Darlinghurst, Sydney | C-41 | Standard | Popular with Sydney film shooters |
| FilmNeverDie | Melbourne | C-41 | Standard | Mail-in accepted |
| Camera House Loganholme | Brisbane | C-41 | 1-hour express available | 1-hour in-store service exclusive to the Hyperdome, Loganholme location; not available at other Camera House stores |
For regional shooters, mail-in labs are reliable and widely used. Pack your film canister (still in the canister, not loose) in a padded envelope and most labs will return your digital scans within their standard turnaround window.
The complete guide to developing disposable cameras in Australia covers finding labs in your city, mail-in options, and what to expect from the process.
Reading Your Results and Improving
When your scans come back, set aside time to look at them critically, not just aesthetically. Understanding why certain frames worked helps you repeat the results.
Common beginner issues and their causes:
| Issue | Likely cause | Fix |
|---|---|---|
| Dark or muddy shadows | Underexposure; insufficient light or flash not used | Use flash indoors; shoot in better light; use higher ISO film |
| Blown-out highlights | Overexposure or flash too close | Increase distance from subject; use a lower ISO in bright sun |
| Blurry images | Camera shake or subject movement | Hold steadier; faster shutter speed |
| Only part of frame in focus | Shallow depth of field at wide aperture | Shoot at a smaller aperture (higher f-number) |
| Double exposure | Failed to advance between shots | Check your advance mechanism after each shot |
| Light streaks across frame | Light leak in camera body or film loaded in bright light | Check camera door seal; load film in shade |
Keep notes as you shoot, even basic ones: where you were, what the light was like, whether you used flash. These observations become valuable when you're reading your scans later. Most beginners who improve quickly are the ones who treat each roll as a lesson rather than just a gallery.
Gear to Add Later (and What to Skip)
Once you've shot a few rolls and decided film photography is a lasting interest, there are a handful of additions worth considering. Most of the gear marketed to new film photographers is not necessary.
Worth adding over time:
- A light meter app (free, for when you move to manual exposure): Lux Light Meter Pro (iOS) or Light Meter, Lux, Exposure (Android) are well-regarded options.
- A film changing bag (~$40 AUD): Useful if you want to unload mid-roll or handle film in daylight.
- A 35mm SLR as a second camera ($80-$200 secondhand): Once you're comfortable with the basics, an SLR opens up interchangeable lenses and full manual control.
- A second film stock: Once you know Kodak Ultramax 400, try Kodak Portra 400 for portraits or Ilford HP5 Plus for black-and-white.
Skip for now:
- Lens filters (useful but not a beginner priority)
- A dedicated film scanner (most labs produce better scans than consumer flatbeds; invest here much later)
- A camera bag specifically for film (your current bag works fine)
- Bulk-loading equipment (a serious practice for high-volume shooters, not beginners)
The reusable vs disposable cameras guide covers in detail when and whether to upgrade from a disposable to a reusable camera, with a full AUD cost comparison.
 Film photography is a social medium. Shooting alongside other people, sharing rolls, and comparing results is one of the fastest ways to improve.
Frequently Asked Questions
How much does it cost to start film photography in Australia?
Starting film photography costs around $51 to $63 AUD for a disposable camera and a develop-and-scan service. For a reusable setup, budget approximately $80 to $100 AUD for an entry-level camera plus your first roll and developing costs. From roll two onward with a reusable camera, you're spending around $36 to $53 AUD per roll (film plus developing) depending on your lab and film choice (prices as of 2026).
What is the best camera for film photography beginners?
A 35mm point-and-shoot like the Kodak M35, Ilford Sprite 35-II, or the Kodak Ektar H35 is the best starting point for most beginners. These cameras handle exposure automatically, accept any 35mm film stock, and cost between $43 and $60 AUD. A disposable camera is the right choice if you want to try film once before committing to any gear.
What film should a beginner use?
Kodak Ultramax 400 or Fujifilm 400 are the standard recommendations for beginners. Both are ISO 400, which handles a wide range of Australian light conditions, and both are available from Australian retailers. Avoid black-and-white film and slide film (E-6) until you're comfortable with colour negative basics.
How long does film photography take from shooting to seeing your photos?
Shooting a 36-exposure roll typically takes anywhere from a single afternoon to a few weeks, depending on how actively you shoot. Once you send film to a lab, most Australian mail-in services return scans within two to five business days. A same-city drop-off lab can often scan within 24 hours. Total time from shooting the last frame to viewing scans is commonly five to ten business days, accounting for postage and lab turnaround.
Can you use a film camera without knowing photography basics?
Yes. A disposable camera or an automatic point-and-shoot requires no technical knowledge. Point it at your subject, ensure there's adequate light (or use the flash), and press the shutter. Understanding aperture, ISO, and shutter speed helps you get better results from manual cameras, but it is not a prerequisite for starting film photography.
Is film photography worth it compared to digital?
Film photography is not a replacement for digital. It's a different tool that produces a different result, at a higher cost per frame, with a deliberate delay between shooting and viewing. That combination appeals to photographers who want to slow down, shoot more intentionally, and produce images with a distinct character. Whether it's worth it depends entirely on what you want from photography.
Ready to Start?
Starting film photography as a beginner is most enjoyable when you stop planning and start shooting. The gear doesn't need to be perfect. The first roll doesn't need to be. Film photography for beginners rewards action over preparation, and every roll teaches you something the previous one didn't.
If you want the lowest-commitment entry point, browse the CAMDI disposable camera collection and pick one that appeals. If you're ready to invest in a reusable camera, options like the Kodak M35 or Ilford Sprite 35-II are compact, affordable, and widely available from Australian camera retailers.
Once you've shot your first roll, the where to develop disposable cameras in Australia guide will help you find a lab. And if you're still deciding between a disposable and a reusable camera, the reusable vs disposable cameras guide breaks down the costs, the tradeoffs, and exactly who should buy each.
Shoot the roll. See what comes back. Go from there.
Sources: Film stock pricing based on Australian retail availability as of 2026; verify current prices directly with retailers as pricing changes. Lab pricing sourced from publicly listed rates as of 2026; confirm directly with the relevant lab before sending film. Camera prices based on Australian retail as of 2026. Internal CAMDI product references: thecamdi.com.au.


